The Best Fluffy Pancakes recipe you will fall in love with. Full of tips and tricks to help you make the best pancakes.
Best Red Velvet Oreo Cheesecake (Creamy & Rich!)
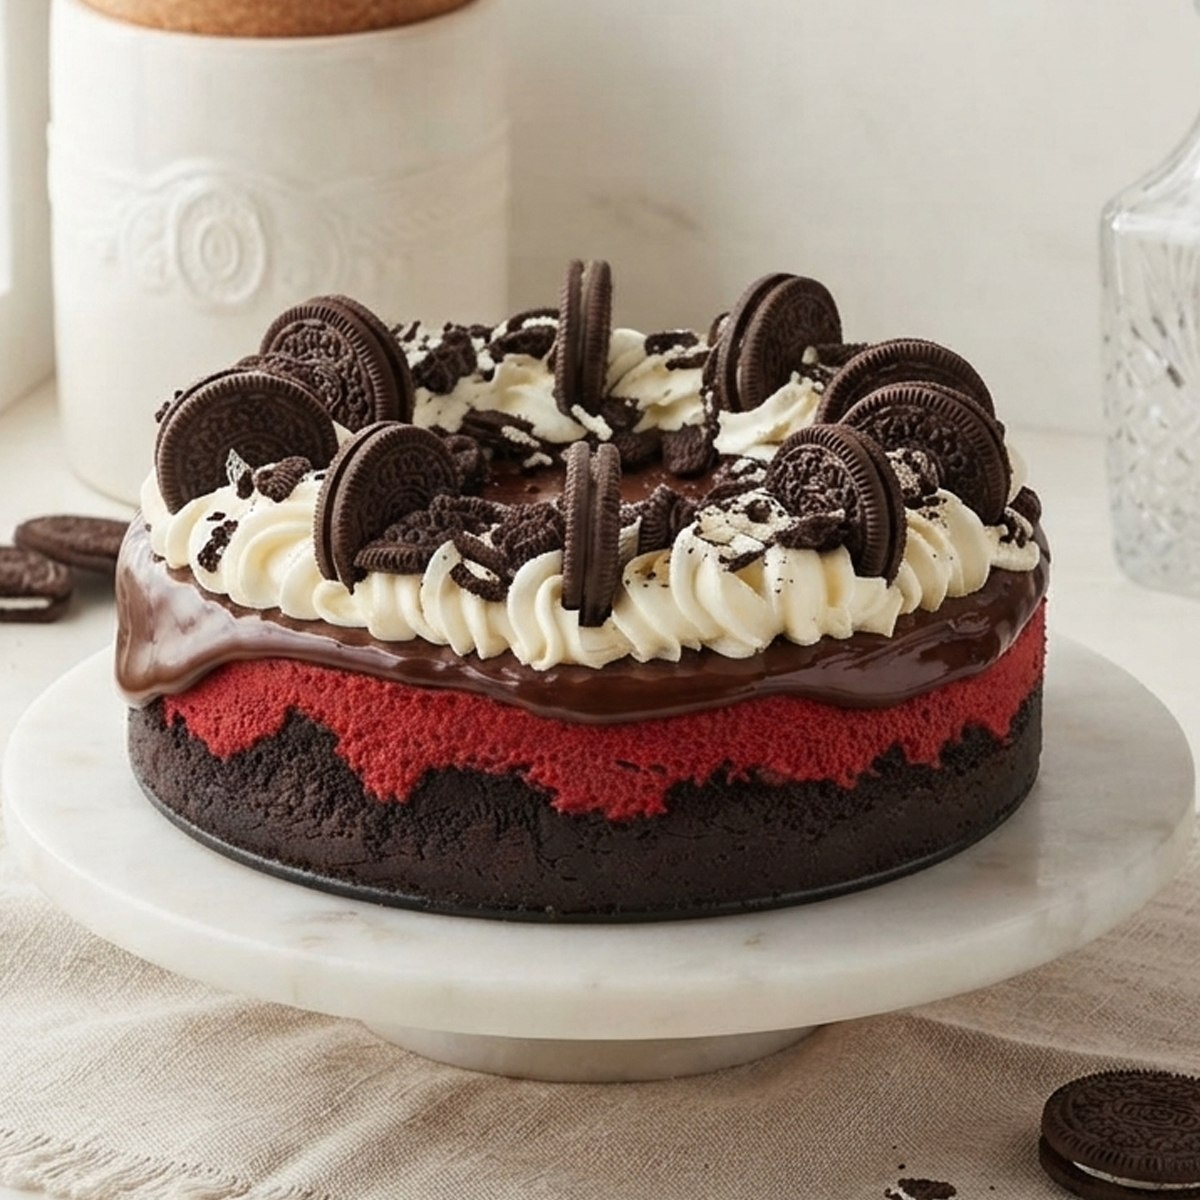
If you are looking for a dessert that demands attention and tastes even better than it looks, this Red Velvet Oreo Cheesecake is the answer. It combines the tangy, subtle cocoa flavor of classic red velvet with a crunchy cookies-and-cream twist, making it the ultimate indulgence for any sweet tooth.
This baked cheesecake is a true showstopper. Whether you are serving it for Valentine’s Day, a holiday dinner, or as a decadent birthday treat to follow Red Velvet Cupcakes, this rich, bakery-worthy dessert will have everyone asking for a second slice!

What is it
Red Velvet Oreo Cheesecake is a dense, creamy baked cheesecake that uses an Oreo cookie crust instead of a traditional graham cracker base.
The filling is made with standard cheesecake ingredients (cream cheese, sugar, eggs) but is transformed with the addition of cocoa powder, a splash of vinegar, and red food coloring to mimic the classic red velvet profile. To make it a true cookies-and-cream experience, chopped Oreos are folded directly into the batter. For those who already love the flavor of Chocolate Oreo Cheesecake and Oreo Trifle, this red velvet version elevates that concept with a festive, vibrant color.
Why you’ll love it
You will love this recipe because it delivers the best of three worlds: a buttery cookie crust, a silky smooth cream cheese center, and the bold, tangy flavor of red velvet cake.
It is also incredibly customizable! You can leave it plain, top it with a rich Red Velvet Buttercream Frosting border, or go all out with a dark chocolate ganache drip and swirls of whipped cream. Plus, like most baked cheesecakes, it actually tastes better the day after you make it, making it the perfect make-ahead party dessert.
Ingredients
For the Oreo Crust:
- 24 whole Oreo cookies (do not remove the cream).
- 5 tablespoons (70g) unsalted butter, melted.
For the Cheesecake Filling:
- 32 oz (4 blocks) full-fat cream cheese, softened to room temperature.
- 1 cup (200g) granulated sugar.
- 3/4 cup (170g) sour cream, room temperature.
- 1/4 cup heavy cream or buttermilk.
- 3 tablespoons unsweetened cocoa powder.
- 4 large eggs, room temperature.
- 2 teaspoons pure vanilla extract.
- 1 teaspoon white vinegar (optional, for that classic red velvet tang).
- Red gel food coloring (amount depends on the brand, use until vibrant).
- 1 cup chopped Oreo cookies (about 10 cookies).
For the Topping:
- 1/2 cup heavy cream + 1/2 cup semi-sweet chocolate chips (for ganache).
- Whipped cream and extra Oreo halves for garnish.
How to make
Step 1: Prep the crust
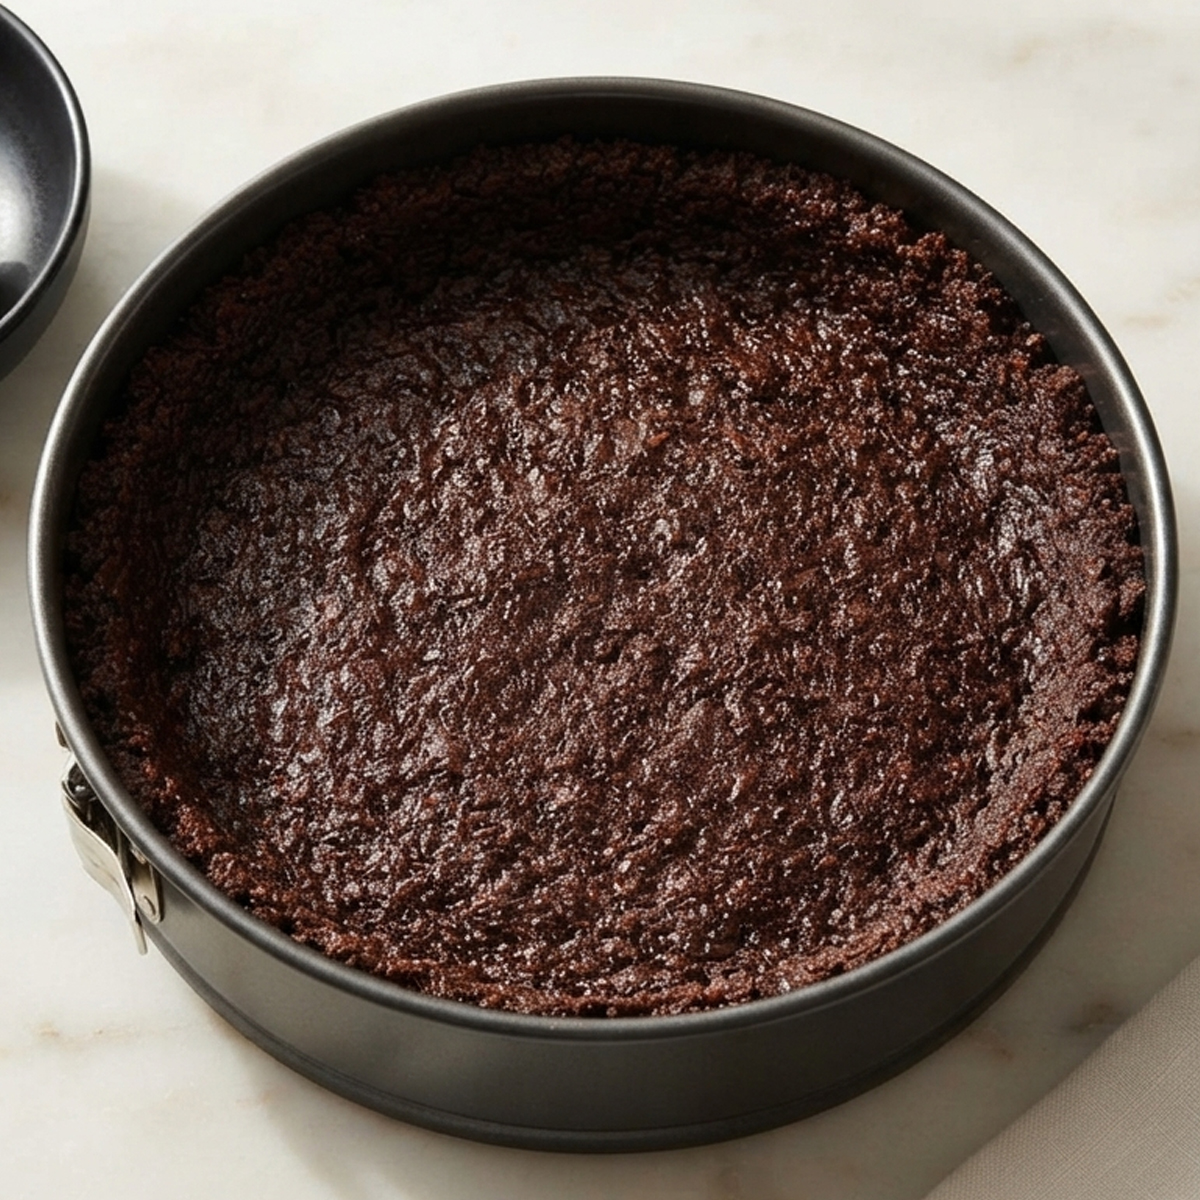
Preheat your oven to 325°F (163°C). Pulse the 24 Oreos in a food processor until they are fine crumbs. Mix the crumbs with the melted butter, then press the mixture firmly into the bottom and slightly up the sides of a 9-inch springform pan. Bake for 10 minutes, then let it cool.
Step 2: Mix the cream cheese
In a large stand mixer fitted with a paddle attachment, beat the softened cream cheese on medium speed until completely smooth and creamy (about 2-3 minutes). Add the sugar and cocoa powder and mix until combined.
Step 3: Add the liquids and color
Add the sour cream, heavy cream, vanilla extract, and white vinegar. Mix on low speed. Add your red gel food coloring until the batter reaches a deep, vibrant red.
Step 4: Add eggs and chopped Oreos
With the mixer on the lowest speed, add the eggs one at a time, mixing just until the yolk disappears. Do not overmix! Overmixing adds air, which causes cheesecakes to crack. Gently fold in the chopped Oreos by hand using a rubber spatula.
Step 5: Bake in a water bath
Pour the batter over the cooled crust. Wrap the outside of your springform pan tightly in aluminum foil and place it in a larger roasting pan. Pour boiling water into the roasting pan until it reaches halfway up the cheesecake pan. Bake for 1 hour and 15-30 minutes, until the edges are set but the center still slightly jiggles.
Step 6: Cool and chill
Turn the oven off, crack the door open, and let the cheesecake sit inside for 1 hour. Remove it from the water bath and chill in the refrigerator for at least 6 hours (preferably overnight) before adding the ganache topping and serving.
How To Serve
Once fully chilled and set, remove the cheesecake from the springform pan. Pour the slightly cooled chocolate ganache over the top, letting it drip down the sides.
Pipe swirls of whipped cream around the border and press half of an Oreo into each swirl. Serve cold with a tall glass of milk or a fun Oreo Milkshake for the ultimate cookies-and-cream feast!

How To Store
Store any leftover cheesecake in an airtight container or tightly wrapped in the refrigerator for up to 5 days. Because it contains dairy, it must remain chilled.
You can also freeze this cheesecake! Freeze it whole (without the ganache or whipped cream) by wrapping it in two layers of plastic wrap and one layer of foil for up to 2 months. Thaw it overnight in the fridge before decorating and serving.
FAQs
Why do I need to use a water bath?
A water bath creates a humid environment in the oven, which prevents the cheesecake from drying out, browning on top, or cracking down the middle. It is the secret to a silky, bakery-style texture!
Can I use liquid food coloring instead of gel?
It is not recommended. Liquid food coloring adds too much extra moisture to the batter, which can ruin the texture of the cheesecake. Gel coloring is much more concentrated, so you need less of it to achieve a bright red color.
Why did my cheesecake crack?
Cracks usually happen for three reasons: overmixing the eggs (which traps air), baking at too high of a temperature, or cooling the cheesecake too fast. Always let it cool gradually in the turned-off oven!
Note
Make sure to use full-fat brick cream cheese, not the spreadable kind that comes in a tub. Spreadable cream cheese contains more water and will prevent your cheesecake from setting properly.
Nutrition information
Approximate per serving (1 slice, based on 12 slices, including crust and ganache):
- Calories: 620
- Fat: 45 g
- Carbohydrates: 48 g
- Protein: 8 g
- Sugar: 35 g
Tips and Tricks
- Make sure ALL of your cold ingredients (cream cheese, sour cream, eggs) are completely at room temperature before you start. Cold ingredients will cause a lumpy batter.
- To get clean slices, run a sharp chef’s knife under hot water, wipe it dry, and make a cut. Repeat the hot water rinse and wipe between every single slice!